Arduino Kits
Products from award-winning Arduino
What Is the CH32V307 Evaluation Board?
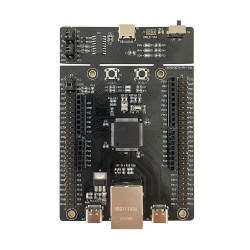
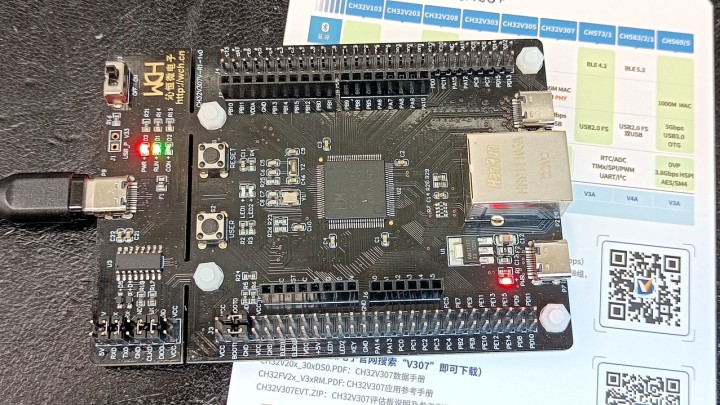
Before looking at the MCU in more detail, let’s have a brief look at the board that hosts it. Besides plenty of connectors, there isn’t much on it. The board has a 2-row 54-way pin header on each side. In between these headers are Arduino-UNO-type shield sockets. The MCU in its 100-pin LQFP package sits in the center of the board.On one of the short sides, let’s call it the right side, are two USB-C connectors and an Ethernet socket. The lower USB-C connector (P7) is connected to a voltage regulator. On the left side are two tactile switches and two LEDs.
Debugger Attached
The board extends a bit on the left with a detachable debug/programming/serial interface based on an unmarked IC. This is called the WCH Link. It has a power switch, a third USB-C connector, three more LEDs and a jumper strip.The CH32V307 RISC-V MCU
As said above, the CH32V307 microcontroller is a RISC-V device. It appears to be the current flagship of a rather large family. The device runs at up to 144 MHz and has 256 KB of Flash memory and 64 KB of RAM and 80 GPIO ports. As it is an interconnectivity MCU, it features eight serial ports, three SPI, two I²C, two I²S, and two CAN interfaces plus USB2.0 (full-speed OTG, high-speed host/device), and Ethernet (Gigabit with 10M PHY). In addition, there is a 16-channel, 12-bit ADC (with touch key capabilities), two 12-bit DACs, 10 timers, a CRC calculation unit and a TRNG. And there is more, refer to the datasheet for the full details.Performance-wise, the CH32V307 is comparable to an ARM Cortex-M4. It has single-cycle multiply and division and integrates an FPU.
MounRiver Studio aka MRS
Since there is not much to say about the board nor the MCU, let’s have a look at the software development tools. For this, there is MounRiver Studio (MRS), a free, integrated development environment (IDE) based on Eclipse for RISC-V/ARM microcontrollers. I installed version 1.84.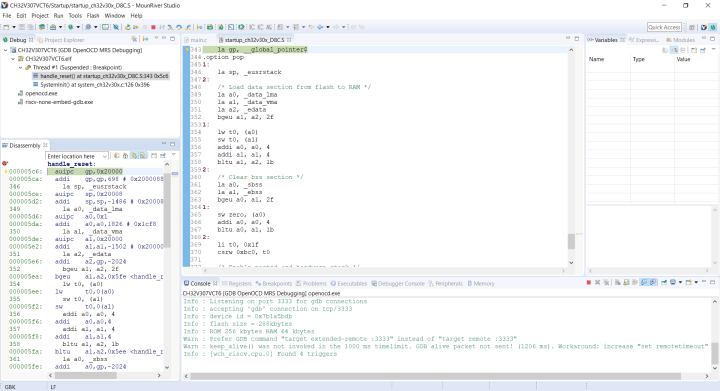
An extensive example pack is available on GitHub. This covers most, if not all peripherals, plus FreeRTOS and some other things.
You can start by creating a new project, which is really easy. The new project is fully configured and even has example code, so you can try it straight away.
Connect the debug side of the evaluation board to a Windows PC. This creates a USB serial port (WCH-Link SERIAL). Switch the board on with S3. Open a serial terminal and make it listen to the new serial port at 115,200 baud.
Three Clicks Is All There Is to It
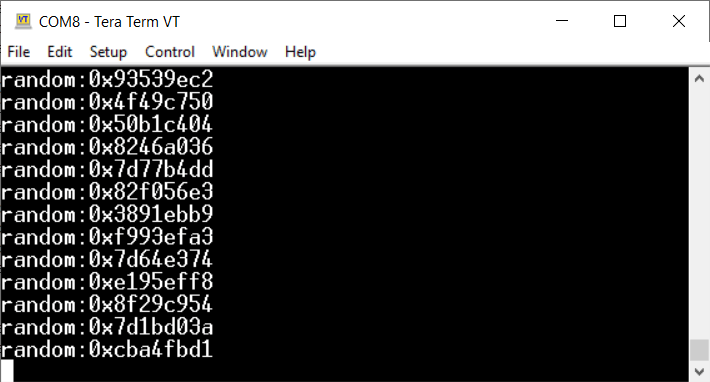
In MRS, click the Build Project button (or press F7). When compilation is finished – this is very fast – press the debug button. When the IDE is done rearranging its windows, you will find yourself at the beginning of your program. Click Run or press F5 to see the program output appear in the serial terminal.As a second try, try importing the RNG example, the random number generator. After executing the same button click sequence as before, random numbers showed up in the serial terminal.
High-level API for the CH32V307
Inspecting the source code reveals high-level API functions with understandable and easy-to-remember names for all the peripherals. This, of course, greatly simplifies program development as you don’t have to consult the datasheet for every little step you are trying to take.A Powerful Solution
In my life, I have tried out a whole lot of development boards for all sorts of processors and programming environments, so you can believe me when I say that such a smooth experience is extremely rare.I feel tempted to say that the CH32V307 Evaluation Board together with MounRiver Studio is a sort of Arduino on steroids. It is as easy to get started and use as Arduino, but the built-in debugger supported by a pro-quality IDE, its RISC-V core and the large number of I/O pins make it way more powerful.
UNO R3
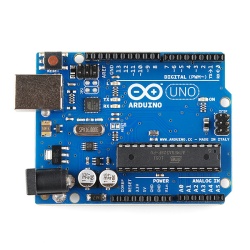
The Arduino UNO is the best board to get started with electronics and coding. If this is your first experience tinkering with the platform, the UNO is the most robust board you can start playing with. The UNO is the most used and documented board of the whole Arduino family.
Arduino UNO is a microcontroller board based on the ATmega328P. It has 14 digital input/output pins (of which 6 can be used as PWM outputs), 6 analog inputs, a 16 MHz ceramic resonator, a USB connection, a power jack, an ICSP header and a reset button. It contains everything needed to support the microcontroller; simply connect it to a computer with a USB cable or power it with a AC-to-DC adapter or battery to get started
Overview
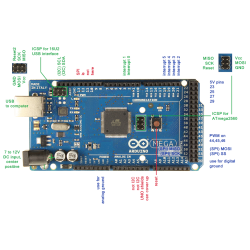
The Arduino Mega 2560 is a microcontroller board based on the ATmega2560. It has 54 digital input/output pins (of which 15 can be used as PWM outputs), 16 analog inputs, 4 UARTs (hardware serial ports), a 16 MHz crystal oscillator, a USB connection, a power jack, an ICSP header, and a reset button. It contains everything needed to support the microcontroller; simply connect it to a computer with a USB cable or power it with a AC-to-DC adapter or battery to get started. The Mega 2560 board is compatible with most shields designed for the Uno and the former boards Duemilanove or Diecimila.
The Mega 2560 is an update to the Arduino Mega, which it replaces.
Related Boards
If you are looking at upgrading from previous Arduino designs, or if you are just interested in boards with similar functionality, at Arduino you can find:
- 1

